Design

I’ll Never Do Beveled Subway Tile Again!

Subway tile is a classic and simple design that creates a dramatic effect and somehow manages to look clean and modern, but also vintage at the same time. I decided that’s exactly what I wanted but, with a little more detail so I chose beveled subway tile for my bathroom remodel. However, after months of hard work and sweat I can honestly say I wish I hadn’t picked beveled tile. When I started this project I was a little over ambitious and tiled not only the shower/tub surround, but also all the walls around it. It seemed so simple in theory, and subway tile is the perfect choice for doing an easy remodel on a budget, or so I thought. Budget, maybe. Easy, not so much.

Don’t get me wrong, laying subway tile IS easy and if you’re just doing a straight wall or a small section it’s not bad at all. A little time consuming, but easy. On the other hand, if you’re like me and have a bazillion corners to go around and multiple walls you’re covering, plus you chose beveled instead of plain, I’m warning you now…think long and hard before you decide you want to go through with this. I even took it a step further and decided I wanted mitered corners which added a whole other level complication to this installation. Come to think of it, maybe the beveled tile wasn’t the problem, but my bathroom layout. Why do I have SO many corners???
20190708_153557
Technically I could have removed some of the corners (i.e. the shelf behind the vanity), but I thought they added character so I kept them. LOL, note to future self, character equals more work.
Here’s the problem with beveled tile (well, one of the problems): If you are doing the classic brick pattern, when you come to an edge or a corner (if you want to do it right) you can’t finish an edge with a full piece of tile. EVERY SINGLE TILE has to be cut.
Let me explain…because of the bevel, when you stack a cut tile on top of a full tile the edges don’t match up. The cut tile becomes a straight edge with no bevel. Therefore, you are left with an uneven edge, resulting in a funking looking grout line. If this doesn’t bother you, power through and install it the way you want. In all honesty, if you have a large surface area it might easily go unnoticed. However, since I was extremely close to the project and wanted to do it right I noticed every single flaw which made it hard for me to let go. Which led to me working many, many, many hours.
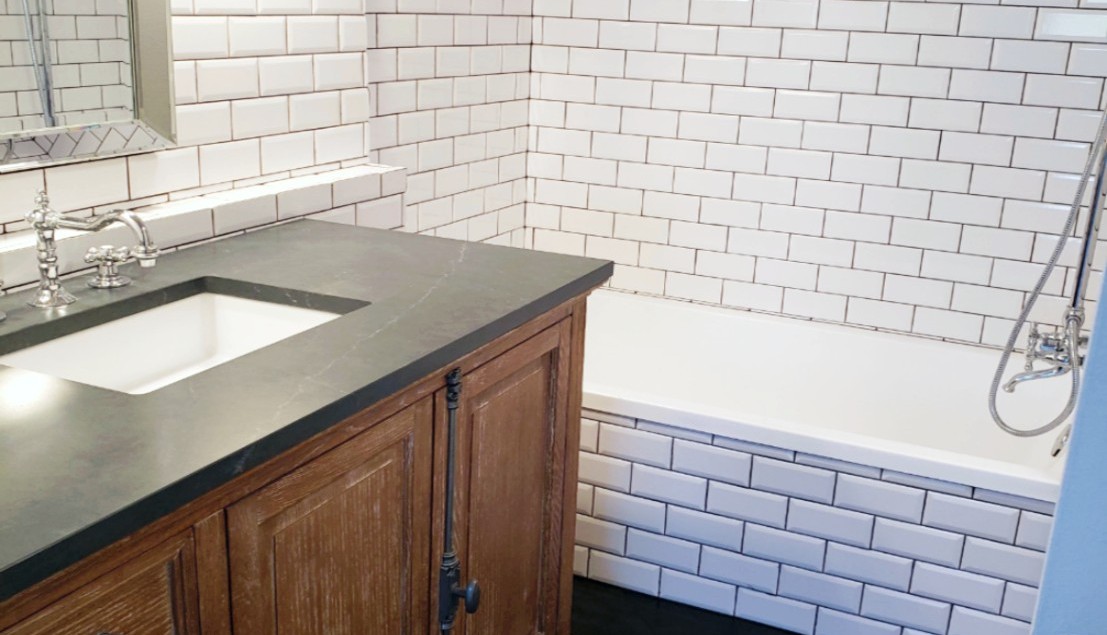
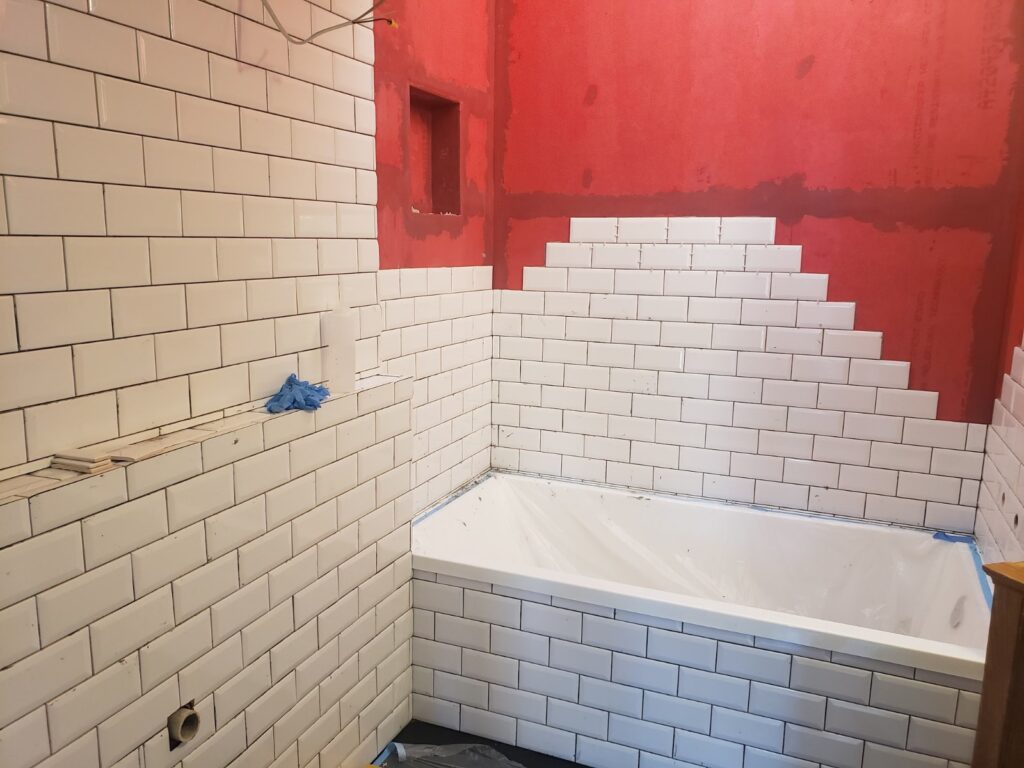
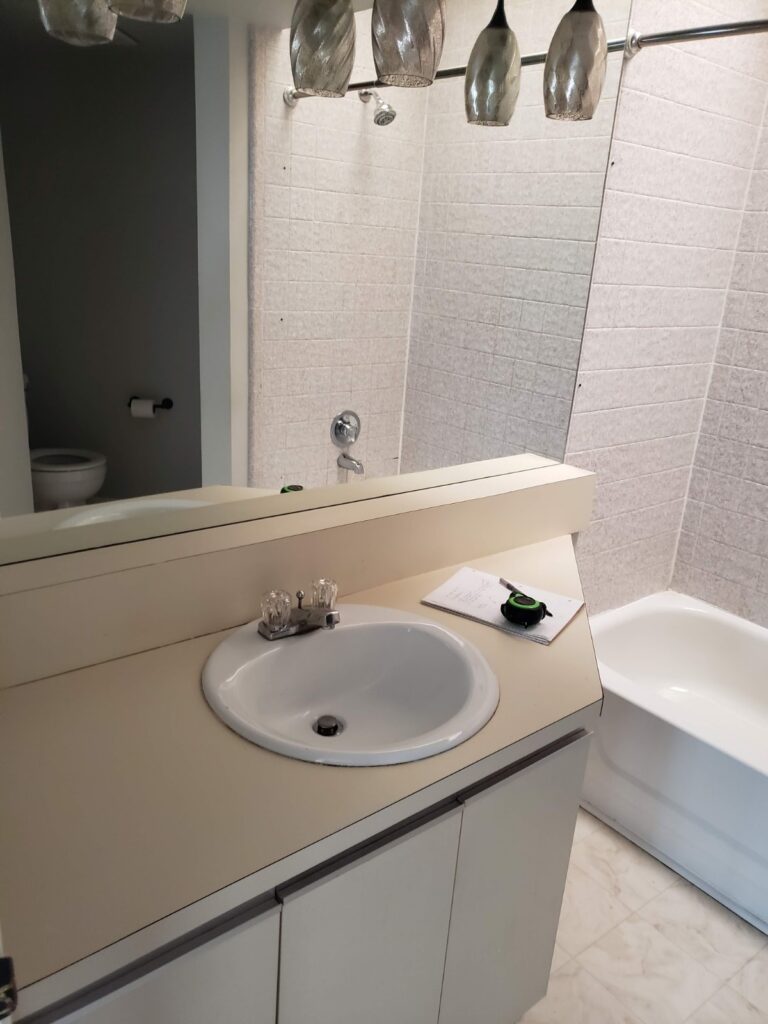
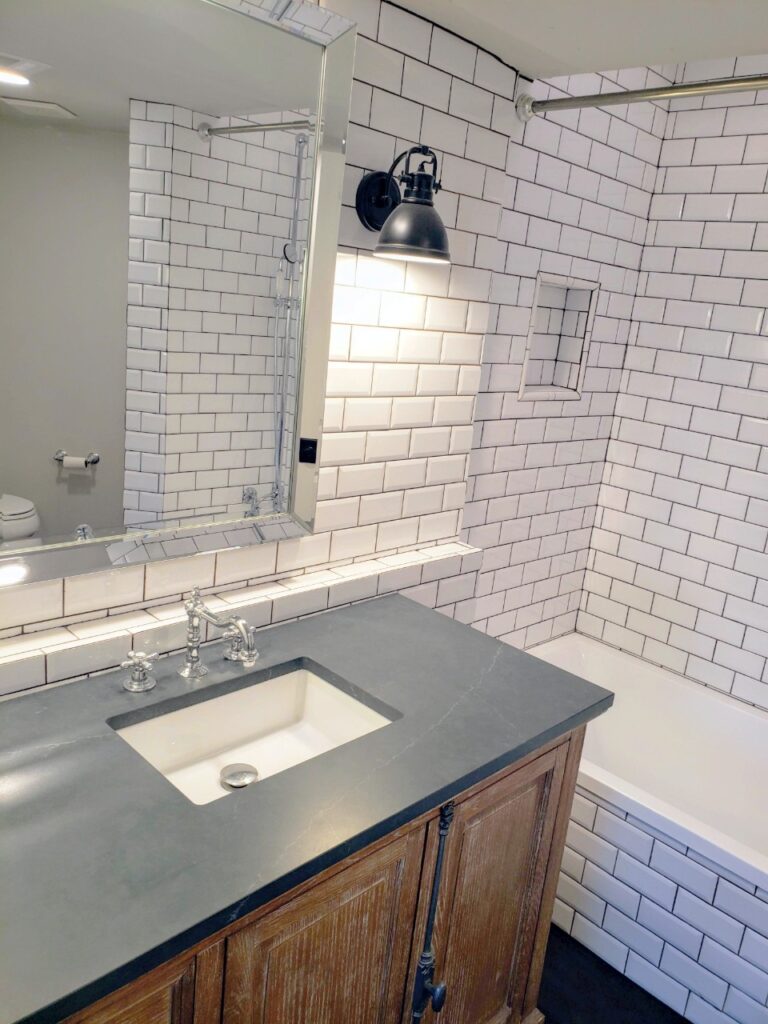
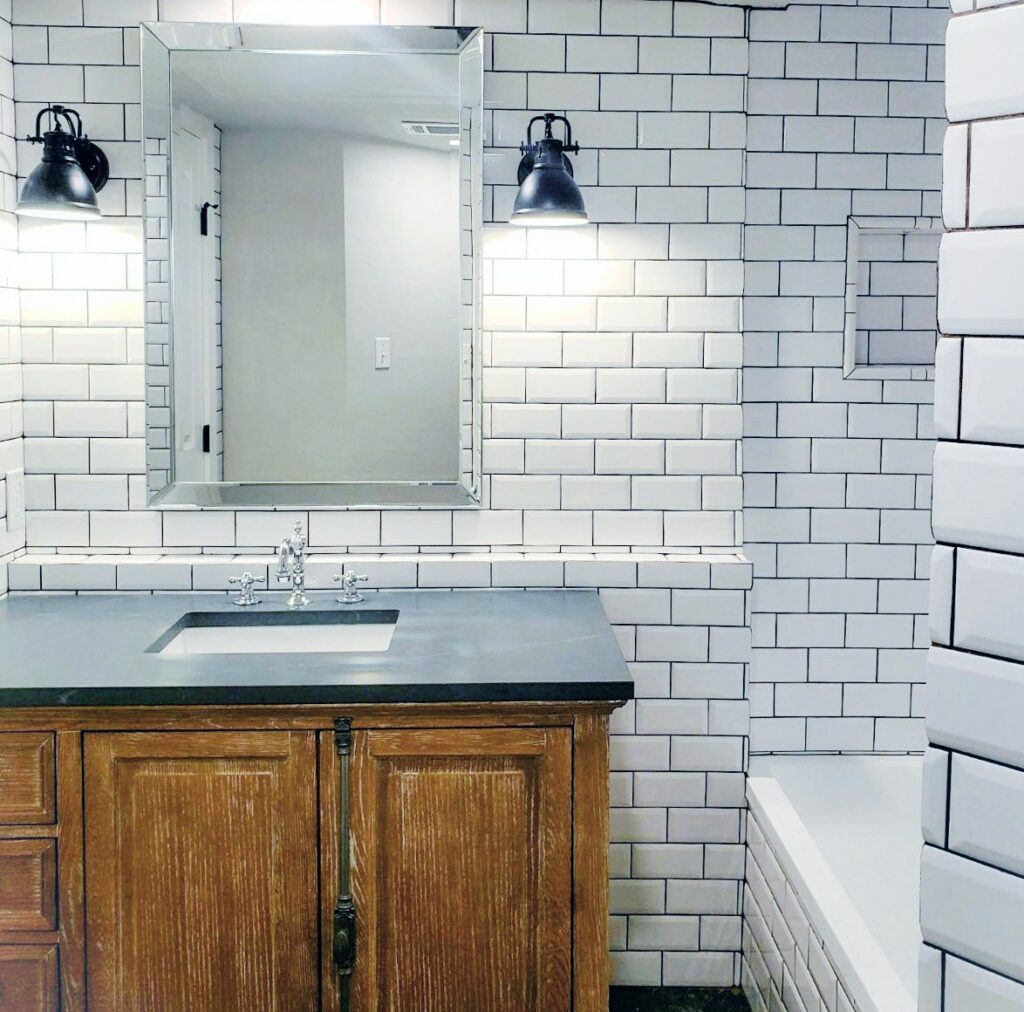
My bathroom before wasn’t bad, just a little outdated. All though, what’s with that weird angle cut out in the sink vanity? I hated that. I decided on a complete remodel, changing everything out, new floor, tub, sink, fixtures, everything. The only thing I kept was the basic layout. I wanted to tile the entire bathroom, floor to ceiling but, I soon discovered how time consuming it was so I decided to only do half the bathroom. It was a good thing too, because one of the other problems with beveled tile is that it makes grouting uh-nnoying! You’re not working with a smooth surface, so you really have to work the grout into the gaps because the beveled edge raises the float tool away from the grout lines. I had many nights of sore arms because of this, but I eventually made it through. Whew! Glad that’s over!
Before
After
Overall, I am very happy with how it all turned out, but next time I will think twice before doing beveled tile. Any future projects (especially ones with corners) I will select a tile that doesn’t require all the extra work, to make it work. I hope my experience helps shed some light on the challenges of beveled tile. Let me know what you think? If you decide to do beveled tile let me know how it goes. I’d love to hear from you!